-
+86 13720060320
-
lanna@haitangs.com

Concealed Hinge Cutout and Opening Clearance
The concealed hinge fits the pocket. Every mounting hole aligns. The door still strikes the frame halfway through opening.
That failure is possible because a concealed hinge cutout describes only part of the installation. The cabinet also needs a defined pivot-axis location, door-edge path, hinge-body keep-out zone, gasket release path, tool access, and clearance through the full opening motion. A static section can look correct while the moving assembly binds.
This page helps cabinet and equipment designers prepare those geometry inputs before requesting a model review. When the project has not yet decided whether the hinge should be internal, external, removable, or position-holding, begin with the industrial concealed hinge selection guide instead.
A Cutout Is Not an Opening Envelope
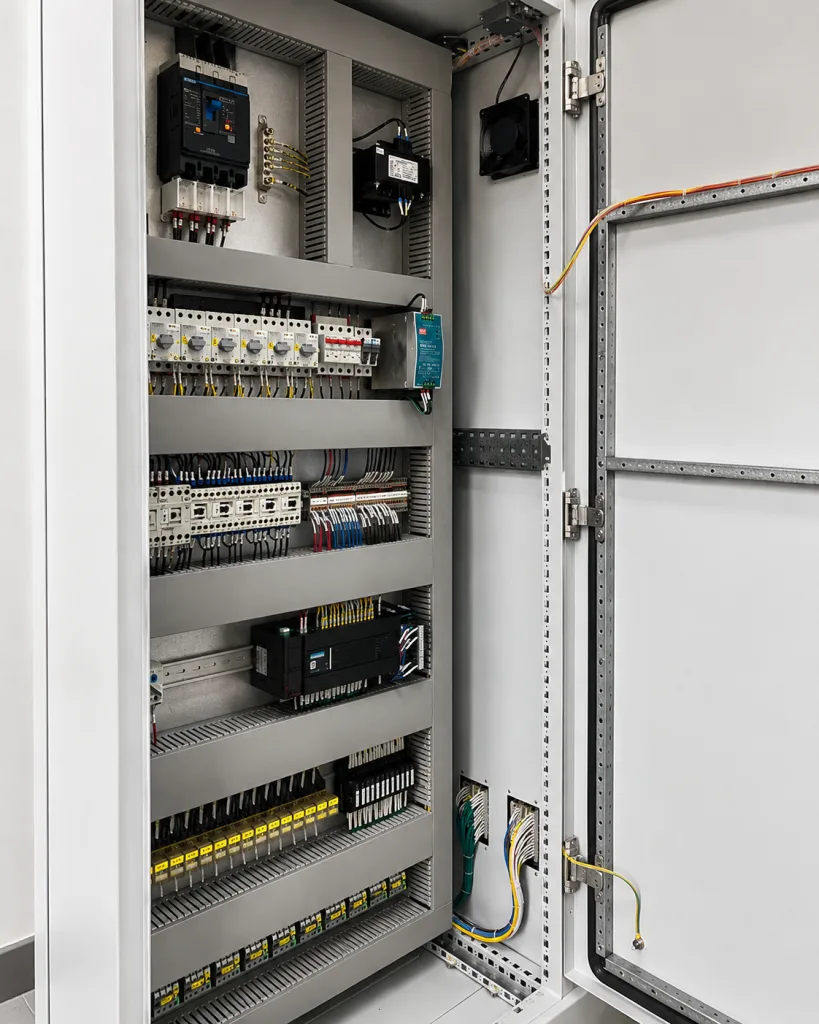
A cutout is a fixed opening, recess, or formed space that allows the hinge body, link, leaf, fastener, or tool to occupy the closed assembly. An opening envelope is the volume swept by the door, hinge links, fasteners, covers, and nearby features as the door moves.
| Geometry Item | Question It Answers | Failure When Missing |
|---|---|---|
| Cutout profile | Can the hinge or mounting feature sit within the panel? | The body, link, screw head, or tool cannot enter the intended space. |
| Pocket depth | Can the hinge sit behind the door-and-frame return? | The closed door stands proud or contacts the hinge. |
| Pivot-axis position | How does the hinge-side door edge move? | The return scrapes the frame corner or pulls into the gasket. |
| Hinge moving envelope | Do links, leaves, pins, and fasteners remain clear? | The mechanism hits a stiffener, latch, rail, or cable duct. |
| Door sweep | Does the complete door clear nearby structure? | The hinge fits, but the door, handle, lip, or mounted device collides. |
| Tool access | Can the hinge be installed, adjusted, or replaced? | The correct model cannot be assembled after the cabinet is populated. |
A supplier cutout dimension is one controlled input, not proof that the complete cabinet can open. Review the cabinet section and the supplier motion drawing together.
Start With the Door-and-Frame Section
The hinge-side section is the working document for concealed hinge geometry. A front view can show overall door size and hinge spacing, but it rarely shows the interference that controls the design.
- Door skin and hinge-side return: material thickness, bend radius, hem, stiffener, and reinforcement.
- Frame flange and return: including the corner the door edge must clear.
- Gasket and sealing land: including the compressed position and retainer profile.
- Mounting surfaces: located from stable cabinet datums rather than several chained bends.
- Internal keep-out zones: rails, wiring, latches, lock rods, cable ducts, displays, or insulation.
- Exterior restrictions: an adjacent cabinet, wall, guard, fascia, handle, or operator path.
Section rule: Dimension the hinge from cabinet datums that the fabricator and inspector can reproduce. A pocket located only from theoretical bend intersections can shift when sheet thickness, bend deduction, and forming variation change.
The general process for reading revisions, datums, tolerances, and alternate-position views belongs in the hinge spec sheet and drawing guide. Here, the purpose is narrower: make the cabinet section usable for one concealed hinge motion review.
Define the Concealed Hinge Cutout
The cutout must be tied to the exact hinge configuration. Do not estimate it from a product photograph, visible cover, overall body width, or a similar model. A small change in arm shape, link offset, screw location, or handing can change the required opening.
| Cutout Field | What the Drawing Should Show | Release Action |
|---|---|---|
| Cutout shape | Rectangular, slotted, stepped, radiused, formed, or model-specific profile | Use a controlled supplier drawing or approved CAD profile. |
| Width and height | Finished opening size with individual tolerance where critical | Do not rely only on a general sheet-metal tolerance. |
| Corner radii | Radii compatible with the fabrication process and hinge clearance | Confirm that production radii do not contact the hinge. |
| Pocket depth | Distance from cabinet datum to mounting plane or deepest moving part | Include finish, fastener heads, washers, and assembly stack. |
| Cutout location | Position from stable door or frame datums | Separate functional location from cosmetic edge dimensions. |
| Edge distance | Material between the cutout, bend, fastener, and panel edge | Review local stiffness and fabrication capability. |
| Handing | Door leaf, frame leaf, top, bottom, and opening direction | Do not mirror the cutout until the hinge is confirmed as mirrored or reversible. |
| Finished condition | Whether dimensions apply before or after coating and inserted hardware | Protect moving clearance without creating an uncontrolled bare edge. |
A larger cutout is not automatically safer. It may reduce local interference, but it can also remove stiffness, narrow a gasket land, expose hardware, weaken a formed return, or create a visible gap.
Pivot Location Controls the Door Edge
The pivot axis determines how the hinge-side edge leaves the closed position. Moving the axis can change whether the door edge rotates into the frame, translates away from it, releases the gasket cleanly, or requires a larger side gap.
- Door mounting datum. This controls the lever from the hinge to the door return and outer skin.
- Frame corner or return. This is often the first hard interference point during early opening.
- Gasket contact line. The door must release without dragging or pulling the gasket from its retainer.
For a simple single-axis hinge, the door edge follows an arc around the pivot. A multi-link hinge can combine rotation and translation, which may clear a deep return with less exterior projection. It also creates a larger internal moving envelope and can be more sensitive to mounting position and accumulated play.
The catalog opening angle is not enough. Two hinges can both claim the same travel while moving the door edge along different paths.
Trace the Door Opening Envelope
Check the door at intermediate positions, not only closed and fully open. Many clashes occur during the first part of travel, when the door return, frame corner, gasket, and internal link are still close together.
- closed position and intended hinge-side gap;
- first gasket-release position;
- angle of minimum door-to-frame clearance;
- positions where hinge links reach their largest internal projection;
- minimum service opening angle;
- maximum permitted angle and separate stop location;
- door-mounted handles, lock rods, windows, displays, fans, cables, or stiffeners.
Use a swept volume in CAD when geometry is available. For an early supplier review, a sequence of section views can work if the same cabinet datums and hinge model are used in every position.
Why a correct cutout can still fail: A cabinet uses the supplier’s cutout and hole pattern. The hinge fits in the closed section. During opening, the inner door return reaches the frame corner before the hinge reaches its catalog angle. Enlarging the cutout does not solve the collision because the pivot axis—not the opening size—controls the door-edge path. The cabinet needs a different axis position, return geometry, or hinge motion.
This is an illustrative engineering scenario, not a customer project record or product test claim.
Gasket Release and Closing Geometry
On a gasketed cabinet, the hinge helps control how the hinge-side edge separates from the seal and how the door returns to the latch plane.
- Does the door rotate or translate away before the edge drags across the gasket?
- Does the hinge-side gap remain usable with gasket and fabrication variation?
- Does the closed door return to the latch and gasket datum without forcing the hinge sideways?
- Can adjustment be completed without moving the hinge into an interference condition?
- Does the cutout preserve the sealing land and avoid an uncontrolled opening into the enclosure?
A concealed hinge does not establish an enclosure protection rating by itself. The complete door, frame, gasket, latch system, cutouts, fasteners, and validation test determine sealing performance. This article defines geometry for review; it does not assign an IP or NEMA result.
Multiple Hinges and Fabrication Tolerance
Two or more concealed hinges must share a usable motion axis or compatible linkage path. Each cutout can be within tolerance while the assembled door still binds because the cutouts, mounting planes, or frame returns do not align as a set.
| Assembly Symptom | Likely Geometry Cause | Recheck |
|---|---|---|
| Door moves freely before final tightening but binds afterward | Leaves are pulled onto non-coplanar surfaces or the axis shifts under clamp load | Mounting-plane flatness, spacer stack, fastener sequence, and reinforcement |
| Upper hinge clears while lower hinge contacts the return | Cutouts or formed returns are not located from a common datum | Cutout position, bend variation, frame twist, and hinge spacing |
| Door gap tapers from top to bottom | Hinge centers, door section, or frame opening are not aligned | Common axis, door squareness, frame diagonal, and hole position |
| Sample fits bare metal but binds after finishing | Coating buildup reduces pocket, link, or fastener clearance | Finished dimensions, masking, edge buildup, and hardware stack |
| Door reaches the angle but cannot be serviced | Tool or component-removal envelope was not included | Usable service angle and complete access path |
General tolerances may be acceptable for cosmetic edges but too loose for the relationship between the cutout, mounting datum, and pivot axis. Control only the dimensions that drive function, then confirm the fabrication process can hold them without forcing the hinge during assembly.
Verify the Complete Cabinet
A supplier model review can screen the geometry. Final sample approval belongs on the production-intent cabinet because the real assembly adds forming variation, weld distortion, inserts, fasteners, coating, gasket force, latch position, door mass, and internal equipment.
Run the door slowly through the full motion. Watch the return, links, fastener heads, cutout edges, gasket, stiffeners, wiring, and adjacent hardware. A polished contact point is evidence of interference even when the operator can force the door through it.
- Confirm the closed gap and latch engagement without using the latch to pull a misaligned door into position.
- Record the minimum clearance at the door return and every internal moving part.
- Verify the required service angle with the actual tool and component-removal path where relevant.
- Check that the designed stop contacts before the hinge, cable, gasket, or nearby equipment becomes the restraint.
- Recheck movement after final fastener tightening and after the specified finish is applied.
- Retain the accepted cabinet drawing, supplier hinge drawing, model identification, and sample condition together.
The hinge may pass a bench movement check and still fail the cabinet. The cabinet is the final geometry.
Drawing Package for Supplier Review
Send enough information to reproduce the geometry decision without sending an uncontrolled archive of unrelated files.
CONCEALED HINGE APPLICATION
- Cabinet or equipment type:
- Door construction: overlay / partially inset / flush
- Door size and assembled mass:
- Hinge quantity and approximate spacing:
- Required opening direction:
- Minimum usable opening angle:
- Maximum permitted opening angle:
- Door removal required: yes / no

DOOR-AND-FRAME SECTION
- Closed hinge-side section:
- Door skin and return dimensions:
- Frame flange and return dimensions:
- Sheet thickness and bend radii:
- Gasket location and compressed condition:
- Door stiffener or reinforcement:
- Internal equipment keep-out zone:
- Exterior obstruction limits:

CUTOUT AND MOUNTING
- Proposed hinge model, if known:
- Cutout profile and controlled dimensions:
- Pocket depth:
- Cutout location from cabinet datums:
- Mounting-hole or weld location:
- Fastener and washer projection:
- Handing and leaf assignment:
- Dimensions before or after finish:
- Installation and adjustment tool access:

MOTION REVIEW
- Pivot-axis location:
- Closed door gap:
- Intermediate position views or CAD motion file:
- Door and hinge moving envelope:
- Minimum clearance through the motion:
- Mechanical stop location:
- Door-mounted hardware and cable path:

SUPPLIER RETURN
- Controlled hinge drawing and revision:
- Closed and open envelope:
- Pivot or linkage references:
- Required cutout and pocket:
- Handing or orientation:
- Maximum model travel:
- Installation and adjustment access:
- Stated geometry limitations:
After the cabinet geometry is defined, compare it with available industrial concealed hinge models. Product pages should provide model and commercial information; the cabinet drawing remains responsible for proving fit and motion.
Send Your Cabinet Section for Review
Send the closed door-and-frame section, cutout proposal, required opening angle, hinge quantity, internal keep-out zones, gasket location, and any preferred HSP model. The review can identify missing geometry inputs and whether the arrangement needs a different cutout, axis position, or motion allowance before the cabinet drawing is released.
Concealed Hinge Cutout Questions
Are concealed hinge cutout dimensions universal?
No. The cutout depends on the exact hinge body, link geometry, mounting method, handing, fastener access, pocket depth, and cabinet section. Use the controlled drawing for the selected model rather than copying dimensions from another hinge.
Is the maximum hinge angle the same as the usable cabinet opening angle?
Not necessarily. The cabinet may be limited earlier by the door return, frame corner, gasket, hinge links, internal equipment, adjacent cabinets, door-mounted hardware, or a structural stop. Verify the complete opening envelope.
Why can a concealed hinge fit the cutout but still bind?
The cutout proves only static space. Binding can come from pivot location, door-edge sweep, nonaligned axes, formed-return variation, coating buildup, mounting-plane distortion, gasket drag, or interference from moving links and fasteners.
Should the cutout be enlarged to prevent interference?
Only after identifying the real contact. A larger cutout may help a local body or tool-access conflict, but it will not correct an unsuitable pivot path. It may also reduce stiffness or sealing land.
What should I send a concealed hinge supplier for a geometry review?
Provide the closed door-and-frame section, sheet thickness and bend radii, gasket position, proposed cutout, mounting datums, required opening angle, keep-out zones, hinge quantity, handing, finish condition, and intermediate motion views or CAD data when available.